10 December 2011

Cookie Exchange!!!


Some friends of mine and I have been particiapting in a cookies exchage for year.  This weekend was our 14th annual.  This was my cookie this year.  It is SOOO good. 


Chocolate Peppermint Stars
(modified from a Martha Stewart recipe in Living)
Makes 24
20 round hard peppermint candies
1 ¼ Cup flour
¾ cup unsweetened Dutch cocoa powder
¼ t salt
2 t instant espresso powder
1 ½ sticks unsalted butter, softened
1 Cup sugar
1 egg
1 t vanilla

1.       Ground peppermint candies in food processor.
2.       Preheat oven to 325
3.       Combine dry ingredients (Flour, cocoa, salt, espresso powder)
4.       Beat butter and sugar with mixer until combined.  Add egg and vanilla.  Reduce to low and add dry ingredients.  Mix until combined.
5.       Shape into disk and wrap in plastic wrap.  Refrigerate for 2 hours.
6.       Roll out on floured surface to ¼”. 
7.       Cut out 4” star shaped shapes.  Cut a ¾” hole out in the middle of each star using a cake tip. Transfer to baking sheet lined w/ parchment paper.
8.       Bake 12 minutes
9.       Remove from oven.  Fill hole with ground peppermint candies, then using a fine sieve dust entire star with ground peppermint candies.  Bake for 7 more minutes.
10.   Cool on baking sheet.


Here we go...... 

unwrap all the peppermint candies (or have a kid do it) and chop them up.  This will be LOUD by the way.


Just like that.


Throw all the dry stuff in a bowl and whisk.  Or in my case 4 bowls since I needed to make several batches for my exchange....


Beat the butter & sugar.  Add the egg and vanilla.  Then dump in the dry stuff. and mix....


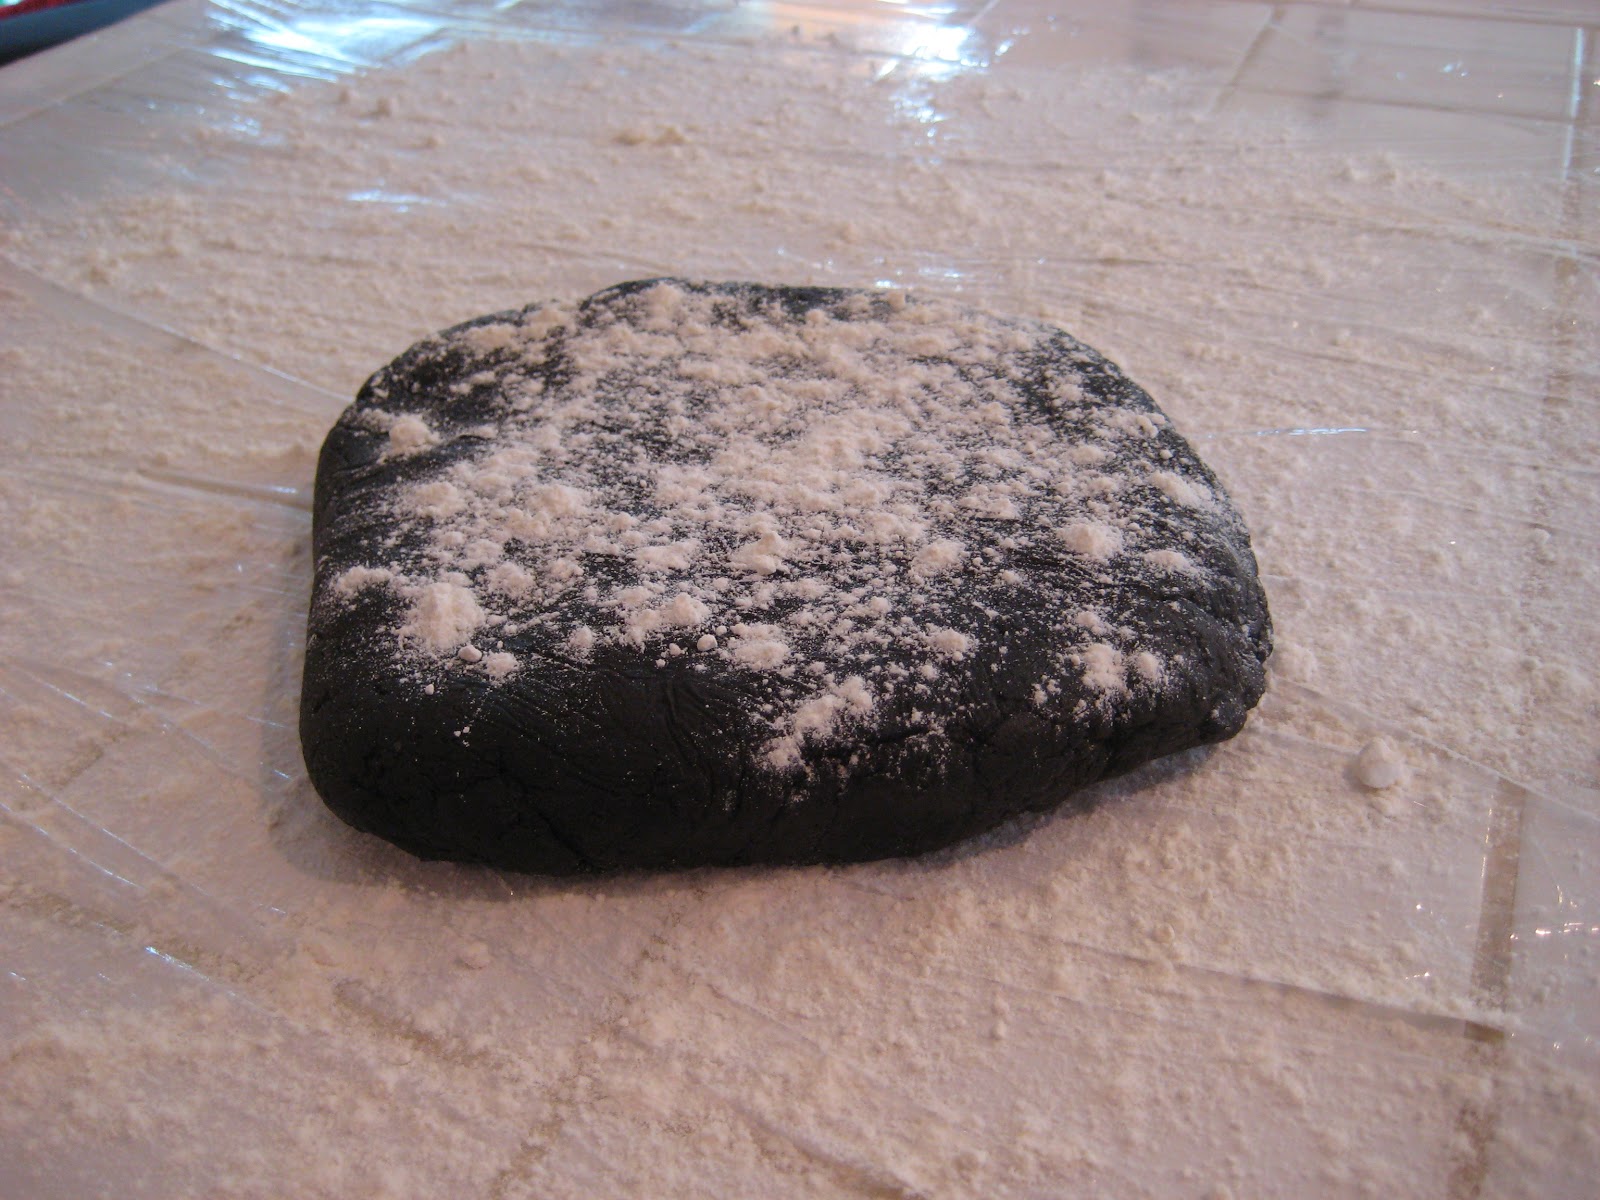
Wrap & chill for 2 hours or more.


Flour your suface.


 Throw the dough down.


Tip.  If you have trouble getting dough to a specific thickness take a toothpick and mark what you are shooting for 1/8" or 1/4"... whatever.  Then roll the dough out.


And poke the toothpick in.  If you meet the line you were shooting for you did it!  If not, adjust...


So roll out and cut.


Here we go.  This is the stars w/ the holes cut.  Throw them in the 325 oven for 12 mintues.


Then pull them out.  Fill that hole w/ peppermint candies.


All of them.


Then make it snow.  Peppermint snow!!


Until they are all covered.  Then bake again for 7 mintues.


There we go.  By now your house should smell amazing.


Enjoy!

30 November 2011

GF Pancakes

Pancakes for dinner

Tonight I tackled Gluten Free pancakes. 

From scratch.  

And they didn't suck!! 

Everyone loved them.  My picky eater ate 5 of them for dinner.  FIVE. 

And he is 4 years old.


So here is what I did.  First I went to my new favorite web site Gluten Free Girl. And looked up GF pancakes.  HERE is her recipe.  Then I did what I "do" and changed it.... just a bit.

The first thing you need to do to make anything GF from scratch is mix up your own whole grain GF flour.  Back to GFG's web site.  Here is where she talks about mixing up your own GF flour.  I did what she said.  It was super easy btw.

My first batch of GF whole grain flour:
I talk more about doing this HERE.

100g each of these GF flours: Almond, oat, brown rice, sweet rice, sorghum, millet,  & quinoa.

100g each of these GF starches: potato, tapioca, & arrowroot.

*side note - next time I think I'll sub the quinoa for something else.  Quinoa has the strongest taste and smell of the whole bunch.  I might do something more benign.


Then I mixed up a batch of pancake batter.  By the way one of the things I love about this GFG recipe is that it is "gum free" meaning there is no added xanthan or guar gums.  The jury is still out for me on the "gums" but never the less THIS recipe has none. 

Oh and yes I know this has dairy.  I'm taking baby steps here.  I'll get rid of the dairy soon... don't worry.

Here is my slightly modified recipe:

GF Pancakes:

mix up the dry:

8 oz GF flour (the one we just mixed up)
1 oz ground flaxseed (golden)
1 1/2 t baking powder
1 t salt
1 t cinnamon
1/4 cup brown sugar

mix up the wet:

6 oz buttermilk
1 t vanilla extract
2 eggs
2 T melted & cooled butter

Mix wet & dry together.  Let sit for 15m room temp.  Cook on griddle. 


Add fruit or don't.  Whatever. 

Enjoy! 


Look at that!  Looks normal doesn't it? 

You wouldn't spot it as Gluten Free food from across the room? Would you?  And they tasted GREAT.  GREAT!


These are at least as good, if not better than my old multi grain (which was half whole wheat) scratch pancakes I used to make. 

Meet our new GF pancake!


29 November 2011

Change is good.... right?

This is Oscar. 

My first born.  My sweet little man.

And our current catalyst for change. 

Oscar has always been "relatively" healthy.  Sort of.  No known true allergies and no behavior problems that might make us suspect something like a food intolerance.

Sure he has some eczema (very minor). 

And some seasonal allergies. 

Oh and when he gets a cold in the winter he ends up coughing until he throws up at night for a week.  It was this pattern that drove us to be more of an ACTIVE advocate for Oscar's health.

We switched to a new pediatrician that we love.  This pediatrician tested him for allergies, asthma and food sensitivities. 

So the jist of it is... Oscar is very allergic to a specific type of grass & a few trees... but no food allergies.  So that is a big relief. 

However, he is HIGHLY sensitive to wheat, rye, spelt and gluten.  And moderately sensitive to dairy and eggs. 

Apparently 7 years of living in a "wheat house" has made his "gut very irritated" to the point that almost all foods show up as slightly sensitive.  It has been explained to me that after 2-6 months of a GF/CF (gluten free / casein free) diet it is likely that the only things he'll need to avoid if possible is wheat, gluten, rye and spelt.  Ya... that's all.

So we are changing. 

14 November 2011

Composting

I try to do good.  I buy organic milk, fruits and veggies.  We recycle.  We use low VOC paint. 

Nothing too out there.... mostly mainstream type stuff.

We've talked about composting for years.... but that is where it stopped.  Just talk. 

Thank goodness we live in Portland Oregon, one of the most sustainable cities in the country.  A front runner in most sustainable technologies, building codes, etc.

Those who live in the city limits have been forced to slow the speed in which we toss every tiny thing into the garbage.  We've always had weekly garbage pick up along with recycle bin pick up and by-weekly yard debris pick up. 

As of October 31st we were given a choice of moving to either every other week garbage pick up or 1 time a month garbage pick up.  Once again.... that is going from weekly pick up to bi weekly or monthy.  Big change.

We were issued a compost bin and told to divert all food scrapes to it rather than the garbage.  Then empty the compost bin into the yard debris bin which moved to weekly pick up.  So this is it.  Not exactly pretty.  Doesn't go with my "decor".


I decided if we were going to "do this" lets... "DO this".  So I went on line and found this:


And I bought bio degradable bags to line it with.  Because the alterative is just too gross for me.  My husband thought it looked like a tiny garbage can sitting on our counter.  I guess he's right... but it is better than the plastic one for sure.


Overall I'm super happy with this change.  I wish we had made it earlier.  I am glad we are doing it now.  I was worried we wouldn't be able to cram 2 weeks of trash into 1 garbage can but we did it!  I'm proud of us.  We have 3 kids, one still in diapers and during those first 2 weeks we had a birthday party w/ presents.  Not too bad.

The best part is that it has changed the way we think.  Before I throw anything away I first think... can this be recycled?  Can it be composted?  Can it be broken down so SOME of it can be recycled or composted?  

09 November 2011

Lemon Curd


We LOVE lemon curd around here.  LOVE it.  We make it all the time and give it away for hostest gifts, housewarming gifts, Christmas gifts, etc. 

It is actually easier to make than you think.  And you only need 4 things.  Lemons, butter, sugar and eggs.  Over the years I've tried dozens of recipies and have developed this one.

You will need:
3 lemons
1 stick butter
2 cups sugar
6 eggs

A juicer, zester and a food processer.  And a pot.


Start by dumping 2 cups sugar into the food processer.  Then zest the lemons on top of the sugar.


After you zest the lemons, juice them and set aside.  You may get anywhere from 1/2 cup to 3/4 cup.  Doesn't really matter by the way.  Use it all.... whatever you get from 3 lemons.


At this point I line up my stuff.  Here it is in the order I'll use it.  Lemon - sugar.  Butter.  Eggs.  Lemon juice.


Then process the sugar and zest until the zest is WELL processed.  This may take several minutes.  You want to get the zest as fine in texture as the sugar if possible.  This allows you to avoid the straining step so many curd recipies include.

Drop in the butter.  I use salted.  You can use unsalted.  If you do, toss in a big pinch of salt.


Cream the lemon-sugar and butter. 


Add eggs, 1 at a time.


Then the juice.


It should look something like this.


Dump the mixture into a heavy pot.  Put over low to medium heat.  Stir.


Stir some more.  This will take about 10 minutes.


Now you want to stir as it heats up.  Don't stop stirring.  After about 10 minutes it will noticably thicken.  It happens suddenly so don't walk away.  This happens at about 165-175 degrees.  Feel free to check the temp if you are nervous about missing the "sweet moment".  Notice the mixture below looks thick... like warm pudding.  At this point take it off the heat.  You are done!


Pour into containers.  Store in Refrigerator.  Eat.  Share with friends.  Enjoy!


Mine doesn't ever last long.... yours won't either!  I'll post my scone recipe some other time....


Enjoy!