25 January 2012

Best Cookbook EVER


So my mother told me a cookbook is worth the $ if you get 1 great recipe from it. Funny really becuase I remember a photographer friend of mine saying the same thing about film... it's a good day if you get 1 great shot per roll (back when they used rolls). Anyway. I guess by my mom's standards I have found the best cookbook in the world. This is fitting since SHE got it for me for Christmas.  
As you may recall we've gone Gluten Free here at the Lewis house. My oldest is gluten intolerant and we are doing a 3 month elimination diet to see what difference it makes in him. We are in week 4. I have been busy looking at GF web sites and through GF cookbooks. You know what I've found? Once you get the hang of cooking by weight.... you don't need a GF cookbook to cook gluten free. You just need a GOOD cookbook and a scale.  This is it.

FLOUR by Joanne Chang.

Go buy it. NOW.

21 January 2012

What to do with all those LEGO's

I have boys.  And boys have Lego's.  I've been searching the internet and questioning my friends for what to do with all the Lego's.  And we are at the beginning... my oldest is 7.  There is more to come for sure.  My system of "organizing" was a pile of various sized plastic containers with lids. That had a lot to be desired.  I didn't like the pile in my family room for starters but most importantly it wasn't accessible for spontaneous play. 

Then I had an idea.  A good one.


What is it you ask and why is it so great?  The idea is so simple really.... I bought THIS from Ikea. The real genius is what we did TO it.  We put casters on the bottom.  Yup... big wheels. That is the idea people.  So simple right?


And the best part?  It works.  Obviously it stores the Lego's.  We bought mostly shallow drawers so the kids can see the parts.  But it easily MOVES where the kids want to play.  Often they play on the kitchen table... it moves there.  Or the dining room. Or the family room.  Or the living room.  It moves to the middle of the room so they can play on both sides.  And the top is the perfect height for a little "assembly desk".

So quick go make one for your house too! 

Here is what we did.  And by WE I mean my husband who is our in-house handy man

First of course you have to assemble the furniture from Ikea.  Then head to the hardware store.  Buy 4 big casters.  4 pieces of wood, some screws and liquid nails.

 Darren glued the wood to the 4 corners.  Then pre-drilled holes for the casters.


 Then screw them in.
Here is shot of what it looks like.

And here are some pictures proving it works.  The kids LOVE it.  And USE it. 


Happy playing!

14 January 2012

Baby's First Cold

I recently went to a baby shower and was racking my brain to come up with an original baby gift.  

I know I know... I could have bought something on the register.  But I wanted something ORIGINAL... and USEFUL.  Not that onsies aren't useful but for some reason I felt that I wanted to pass along to THIS new mom some knowledge. 

New moms have such a learning curve to climb and they have to do it while hormonal and sleep deprived.  I'm also a strong believer in setting up regular "play / coffee" dates with a more experienced mom.  Someone you can ask questions, cry around and who will hold your baby for a few minutes while you sit.

Anyway... back to the baby shower.  Here is what I came up with:

Baby's First Cold kit


10 December 2011

Cookie Exchange!!!


Some friends of mine and I have been particiapting in a cookies exchage for year.  This weekend was our 14th annual.  This was my cookie this year.  It is SOOO good. 


Chocolate Peppermint Stars
(modified from a Martha Stewart recipe in Living)
Makes 24
20 round hard peppermint candies
1 ¼ Cup flour
¾ cup unsweetened Dutch cocoa powder
¼ t salt
2 t instant espresso powder
1 ½ sticks unsalted butter, softened
1 Cup sugar
1 egg
1 t vanilla

1.       Ground peppermint candies in food processor.
2.       Preheat oven to 325
3.       Combine dry ingredients (Flour, cocoa, salt, espresso powder)
4.       Beat butter and sugar with mixer until combined.  Add egg and vanilla.  Reduce to low and add dry ingredients.  Mix until combined.
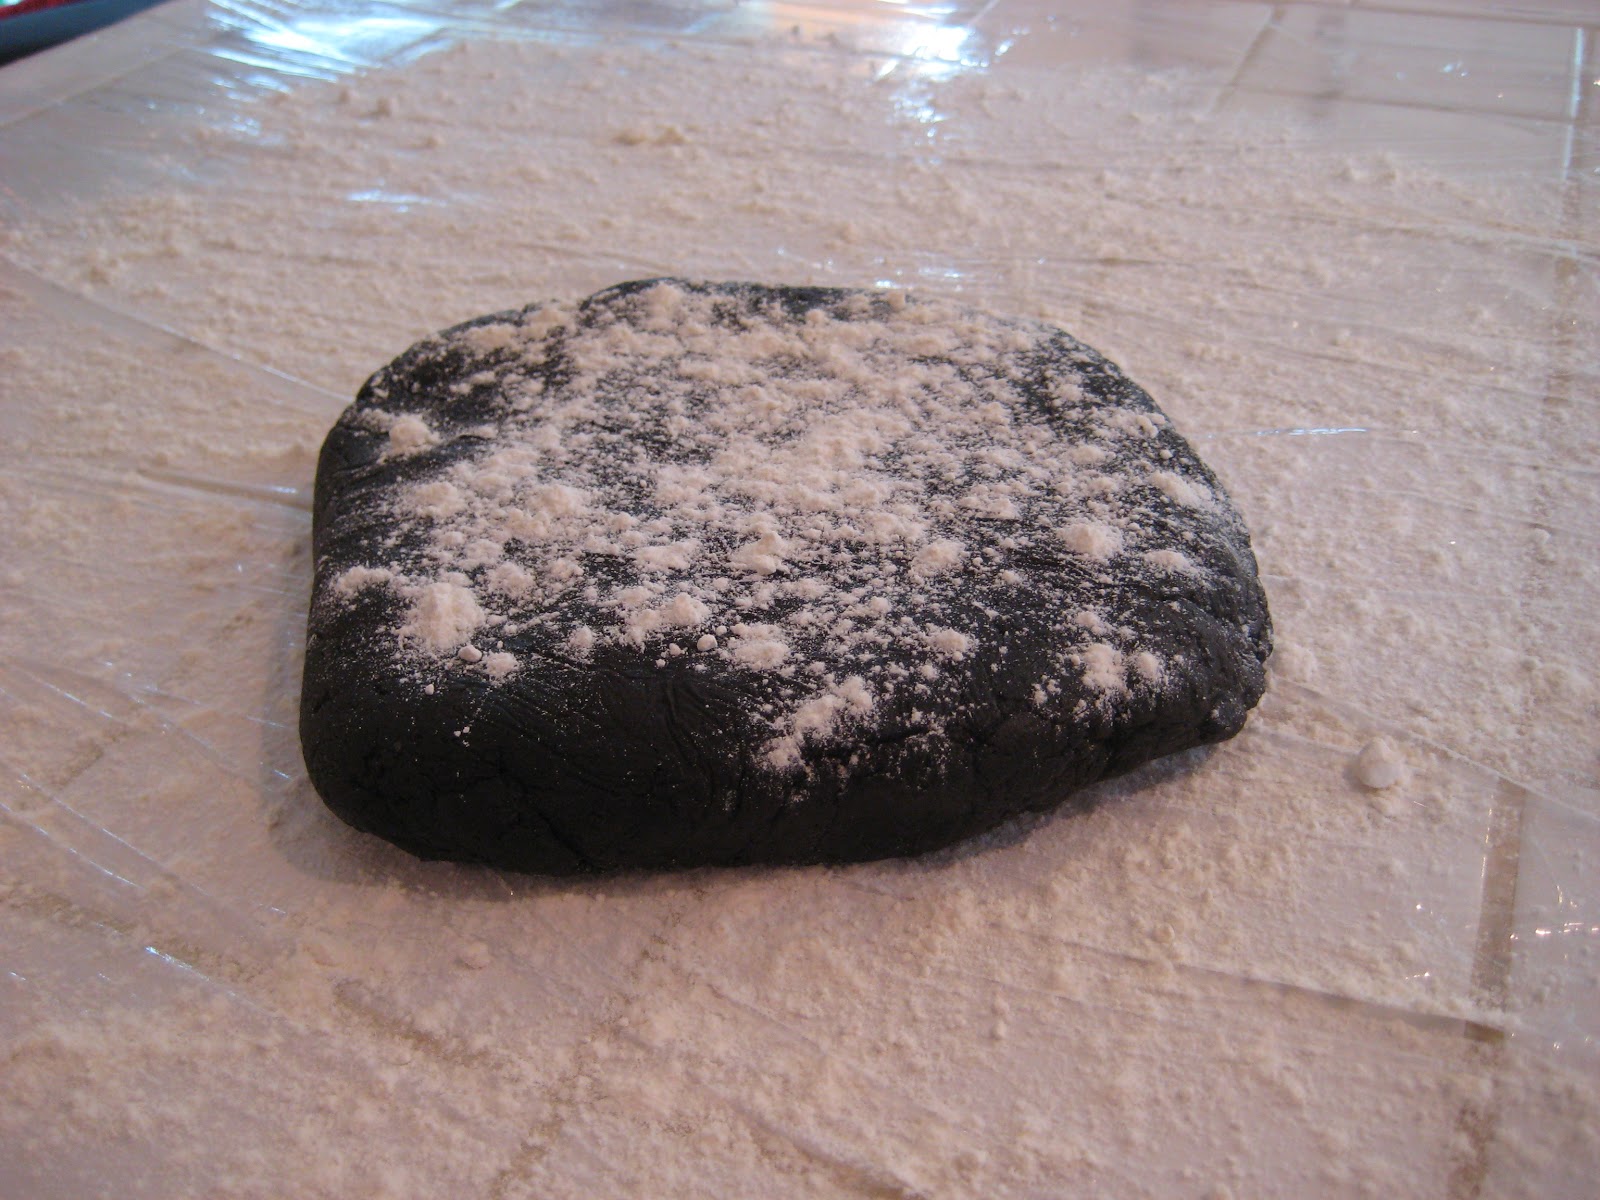
5.       Shape into disk and wrap in plastic wrap.  Refrigerate for 2 hours.
6.       Roll out on floured surface to ¼”. 
7.       Cut out 4” star shaped shapes.  Cut a ¾” hole out in the middle of each star using a cake tip. Transfer to baking sheet lined w/ parchment paper.
8.       Bake 12 minutes
9.       Remove from oven.  Fill hole with ground peppermint candies, then using a fine sieve dust entire star with ground peppermint candies.  Bake for 7 more minutes.
10.   Cool on baking sheet.


Here we go...... 

unwrap all the peppermint candies (or have a kid do it) and chop them up.  This will be LOUD by the way.


Just like that.


Throw all the dry stuff in a bowl and whisk.  Or in my case 4 bowls since I needed to make several batches for my exchange....


Beat the butter & sugar.  Add the egg and vanilla.  Then dump in the dry stuff. and mix....


Wrap & chill for 2 hours or more.


Flour your suface.


 Throw the dough down.


Tip.  If you have trouble getting dough to a specific thickness take a toothpick and mark what you are shooting for 1/8" or 1/4"... whatever.  Then roll the dough out.


And poke the toothpick in.  If you meet the line you were shooting for you did it!  If not, adjust...


So roll out and cut.


Here we go.  This is the stars w/ the holes cut.  Throw them in the 325 oven for 12 mintues.


Then pull them out.  Fill that hole w/ peppermint candies.


All of them.


Then make it snow.  Peppermint snow!!


Until they are all covered.  Then bake again for 7 mintues.


There we go.  By now your house should smell amazing.


Enjoy!

30 November 2011

GF Pancakes

Pancakes for dinner

Tonight I tackled Gluten Free pancakes. 

From scratch.  

And they didn't suck!! 

Everyone loved them.  My picky eater ate 5 of them for dinner.  FIVE. 

And he is 4 years old.


So here is what I did.  First I went to my new favorite web site Gluten Free Girl. And looked up GF pancakes.  HERE is her recipe.  Then I did what I "do" and changed it.... just a bit.

The first thing you need to do to make anything GF from scratch is mix up your own whole grain GF flour.  Back to GFG's web site.  Here is where she talks about mixing up your own GF flour.  I did what she said.  It was super easy btw.

My first batch of GF whole grain flour:
I talk more about doing this HERE.

100g each of these GF flours: Almond, oat, brown rice, sweet rice, sorghum, millet,  & quinoa.

100g each of these GF starches: potato, tapioca, & arrowroot.

*side note - next time I think I'll sub the quinoa for something else.  Quinoa has the strongest taste and smell of the whole bunch.  I might do something more benign.


Then I mixed up a batch of pancake batter.  By the way one of the things I love about this GFG recipe is that it is "gum free" meaning there is no added xanthan or guar gums.  The jury is still out for me on the "gums" but never the less THIS recipe has none. 

Oh and yes I know this has dairy.  I'm taking baby steps here.  I'll get rid of the dairy soon... don't worry.

Here is my slightly modified recipe:

GF Pancakes:

mix up the dry:

8 oz GF flour (the one we just mixed up)
1 oz ground flaxseed (golden)
1 1/2 t baking powder
1 t salt
1 t cinnamon
1/4 cup brown sugar

mix up the wet:

6 oz buttermilk
1 t vanilla extract
2 eggs
2 T melted & cooled butter

Mix wet & dry together.  Let sit for 15m room temp.  Cook on griddle. 


Add fruit or don't.  Whatever. 

Enjoy! 


Look at that!  Looks normal doesn't it? 

You wouldn't spot it as Gluten Free food from across the room? Would you?  And they tasted GREAT.  GREAT!


These are at least as good, if not better than my old multi grain (which was half whole wheat) scratch pancakes I used to make. 

Meet our new GF pancake!